KEDA enables efficient handling of traffic during peaks, making it essential for modern applications. Although Kubernetes can manage workloads, it only supports scaling by default based on CPU and memory utilization.
Now think of a situation where we want our apps to scale based on some metrics such as the quantity of HTTP requests or messages in a queue other than CPU/Memory, hence in this situation, we can make use of KEDA (Kubernetes Event-Driven Autoscaler)

Now these external metrics are retrieved by Scalers which are responsible for fetching these metrics for scaling purposes.
There are multiple scalers available and we can make use of them to scale accordingly
Now for scaling to happen, there is a Kubernetes CRD (Custom Resource Definition) known as ScaledObject, which specifies how KEDA should scale our application and which triggers to apply.
To read more about KEDA and HPA and the different autoscaling and their architecture, you can follow this blog which explains the end-to-end architecture of how it works.
In this blog, we will go through the steps to install KEDA and configure autoscaling for an application.
Let’s go step by step to install KEDA and set up autoscaling for an application.
Prerequisites:
- Kubernetes Cluster / minikube / Kind
- kubectl: To install the kubectl, you can follow the commands here.
- Helm: Helm will be used to deploy KEDA.
Step 1: Install KEDA
To install KEDA, you need kubectl and a running Kubernetes cluster. You can install KEDA using Helm:
helm repo add kedacore https://kedacore.github.io/charts
helm repo update
helm install keda kedacore/keda --namespace keda --create-namespace
Verify if KEDA is running:
kubectl get pods -n keda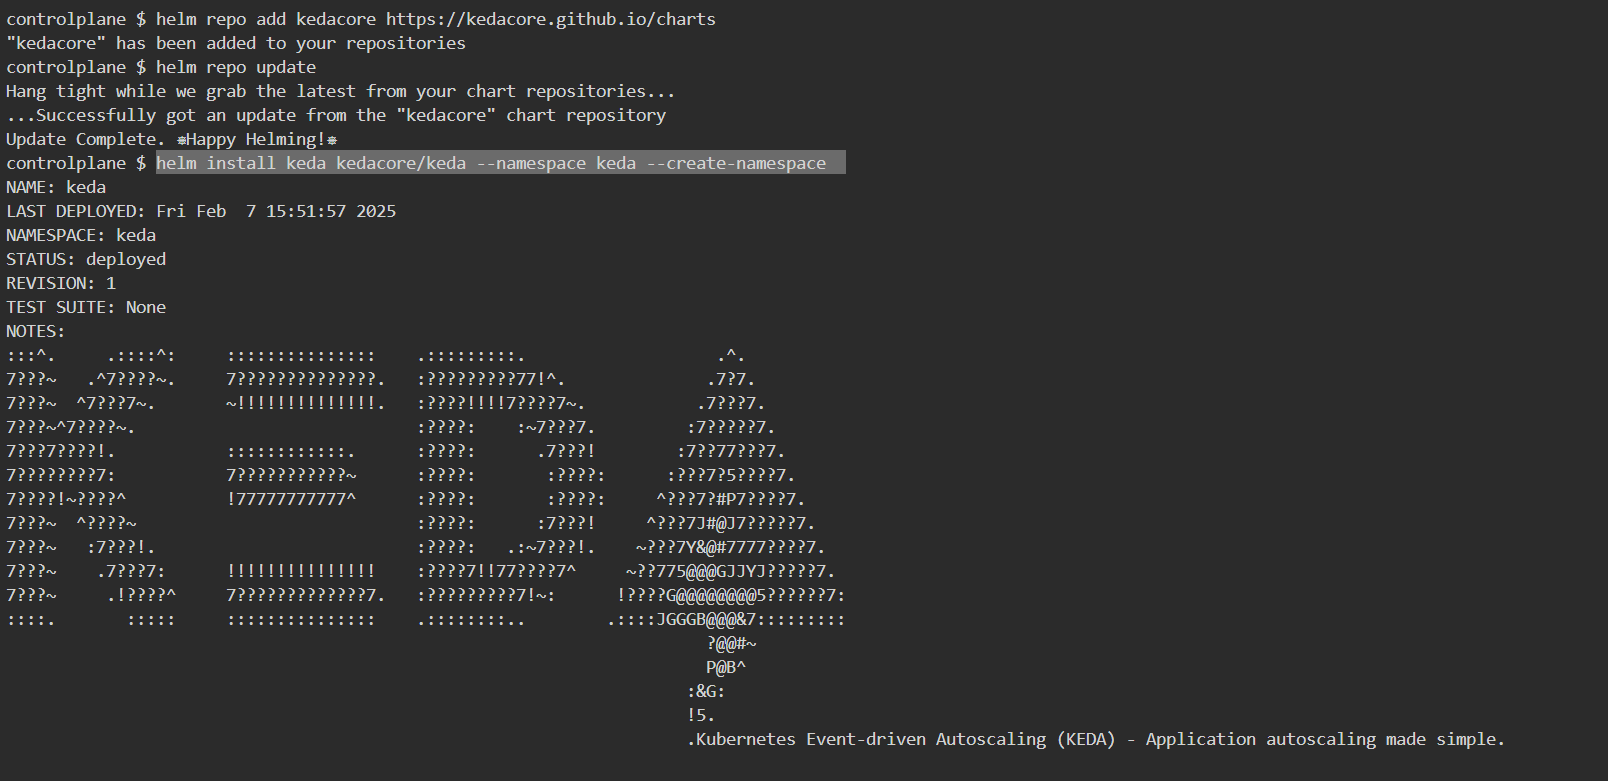
Step 2: Create a Simple Flask App
Save this as app.py:
from flask import Flask
import time

app = Flask(__name__)

@app.route("/")
def home():
    time.sleep(2)  # Simulating processing delay
    return "Hello from Flask App!", 200

if __name__ == "__main__":
    app.run(host="0.0.0.0", port=5000)
Step 3: Create a Docker Image
But before that, we will be going to build an image for the application using Dockerfile and push it to your respective Dockerhub.
FROM python:3.9
WORKDIR /app
COPY app.py .
RUN pip install flask
CMD ["python", "app.py"]
Now, build and push the image by logging into the Dockerhub Account.
docker login
docker build -t <DOCKERHUB-USERNAME>/sample-flask-app:latest .
docker push <DOCKERHUB-USERNAME>/sample-flask-app:latest 
Step 4: Deploy an Application
We have created a sample basic flask application and we will deploy that using deployment.yaml in the namespace `test`.
apiVersion: v1
kind: Namespace
metadata:
  name: test
---
apiVersion: apps/v1
kind: Deployment
metadata:
  name: flask-app
  namespace: test
spec:
  replicas: 1
  selector:
    matchLabels:
      app: flask
  template:
    metadata:
      labels:
        app: flask
    spec:
      containers:
      - name: flask
        image: <DOCKERHUB-USERNAME>/sample-flask-app:latest
        ports:
        - containerPort: 5000
---
apiVersion: v1
kind: Service
metadata:
  name: flask-service
  namespace: test
spec:
  selector:
    app: flask
  ports:
    - protocol: TCP
      port: 80
      targetPort: 5000
  type: ClusterIP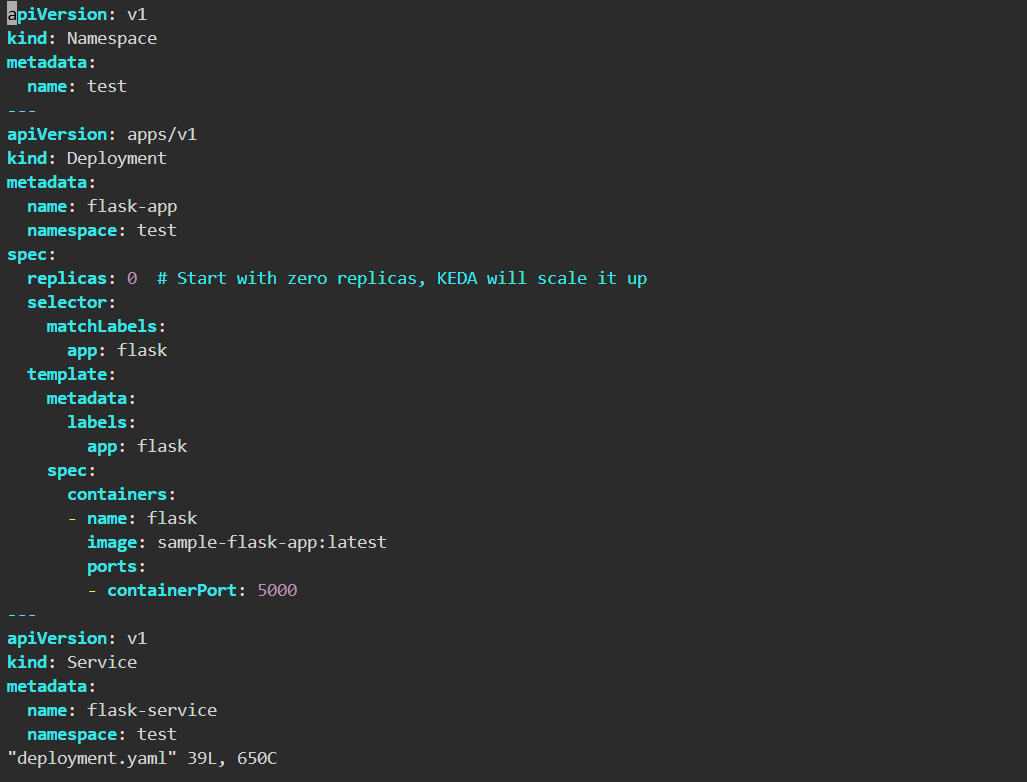
Apply the deployment:
kubectl apply -f deployment.yaml

Step 5: Configure KEDA Scaler for HTTP Requests
Since, there are multiple scalers available in KEDA, but here we will gonna use keda-add-ons-http for scaling our application based on the number of requests.
Based on incoming HTTP traffic, Kubernetes users can automatically scale their application up or down, including to/from zero, with the KEDA HTTP Add-on.
We will need to install an HTTP scaler separately because KEDA does not come with one by default. The following command must be run to install the HTTP Add-on on our Kubernetes cluster.
helm install http-add-on kedacore/keda-add-ons-http --namespace kedaNow, define a ScaledObject by creating a file called scaledobject.yaml to tell KEDA how to scale the application.
kind: HTTPScaledObject
apiVersion: http.keda.sh/v1alpha1
metadata:
    name: flask-app-http-scaler
spec:
    scaleTargetRef:
        name: flask-app
        kind: Deployment
        service: flask-service
        port: 80
    replicas:
        min: 1
        max: 5
    scaledownPeriod: 300
    scalingMetric:
        requestRate:
            granularity: 1s
            targetValue: 100
            window: 1m
Apply the scaling rule:
kubectl apply -f scaledobject.yaml

Step 6: Test Autoscaling
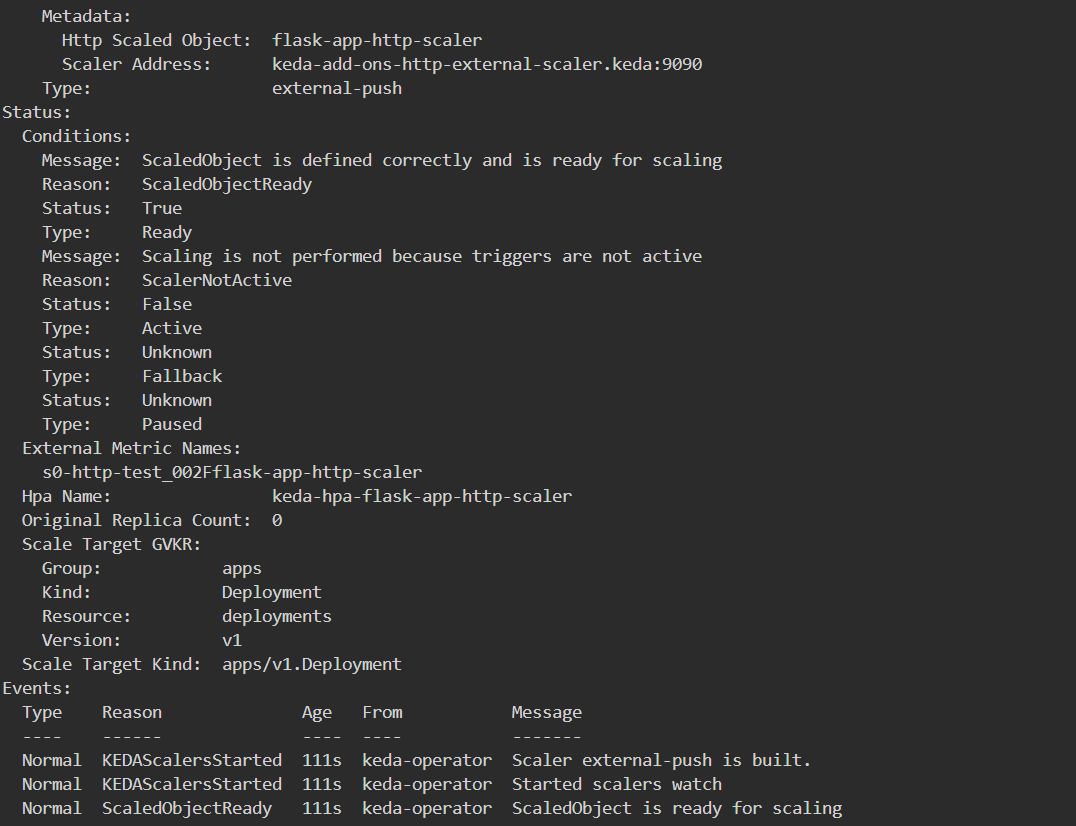
Now, to trigger the scaling of pods, let’s generate traffic on the site, which will lead to the scaling of the application
We will port forward the service to our localhost 8080 and then will make multiple HTTP calls, which will trigger the scaling.
Expose the KEDA HTTP Add-on:
kubectl port-forward -n test service/flask-service 8080:80Now, send traffic to trigger scaling:
for i in {1..200}; do curl -s http://localhost:8080/ & doneCheck pod scaling:
kubectl get pods -n test

How does it work?
- The Flask app receives HTTP requests.
- Flask app starts with 1 pod.
- When HTTP requests arrive, KEDA scales pods up. If requests drop, KEDA scales down to save resources.
Conclusion: Scaling Smarter with KEDA 🚀
In a world where scalability and efficiency define modern applications, KEDA emerges as a game-changer. By seamlessly scaling Kubernetes workloads based on real-time HTTP traffic, KEDA ensures that your infrastructure remains cost-efficient, responsive, and resilient under fluctuating loads.
From configuring HTTPScaledObjects to testing real-world traffic scenarios, we explored how KEDA dynamically adjusts pod replicas based on incoming requests.
With this setup, you now have a powerful autoscaling mechanism that prevents over-provisioning and ensures your application always meets demand. Whether you’re handling a viral traffic spike or maintaining steady-state performance, KEDA has got you covered!
Ready to take it further? 🚀
Try integrating Prometheus metrics, fine-tune your scaling policies, or experiment with other KEDA triggers like Kafka, RabbitMQ, or Azure Event Hubs!
You can also refer to our blog, which explains how to configure Kubernetes monitoring using Prometheus.
Happy scaling! 🚀🐳☁️
I’m a DevOps Engineer with 3 years of experience, passionate about building scalable and automated infrastructure. I write about Kubernetes, cloud automation, cost optimization, and DevOps tooling, aiming to simplify complex concepts with real-world insights. Outside of work, I enjoy exploring new DevOps tools, reading tech blogs, and play badminton.
Subscribe to our Newsletter
Please susbscribe
